3DXchange5 Pipeline test series 16: MMD Disney Elsa Let it Go in iClone5
2014. 5.29 Hirospot (Personal Site)
2014. 5.29 Hirospot (Personal Site)
|
|
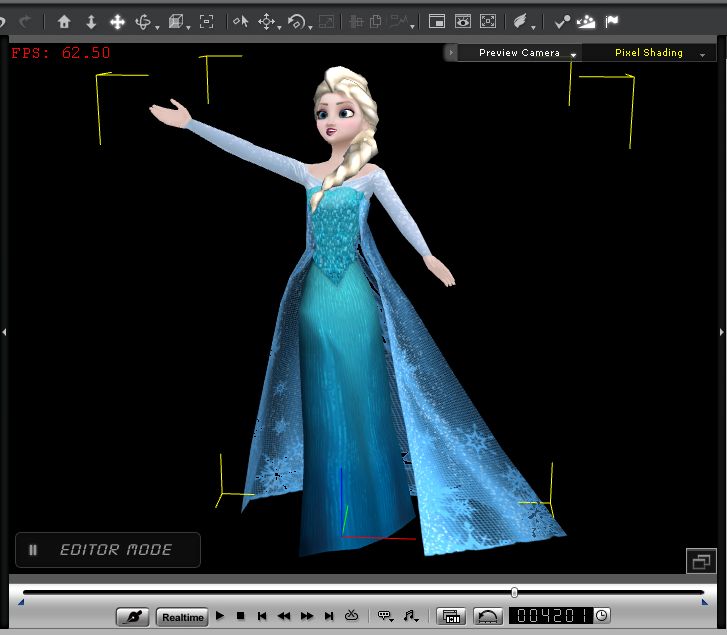 |
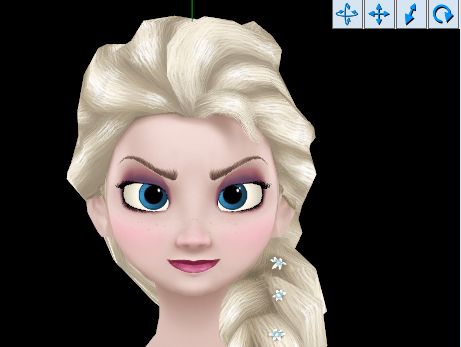
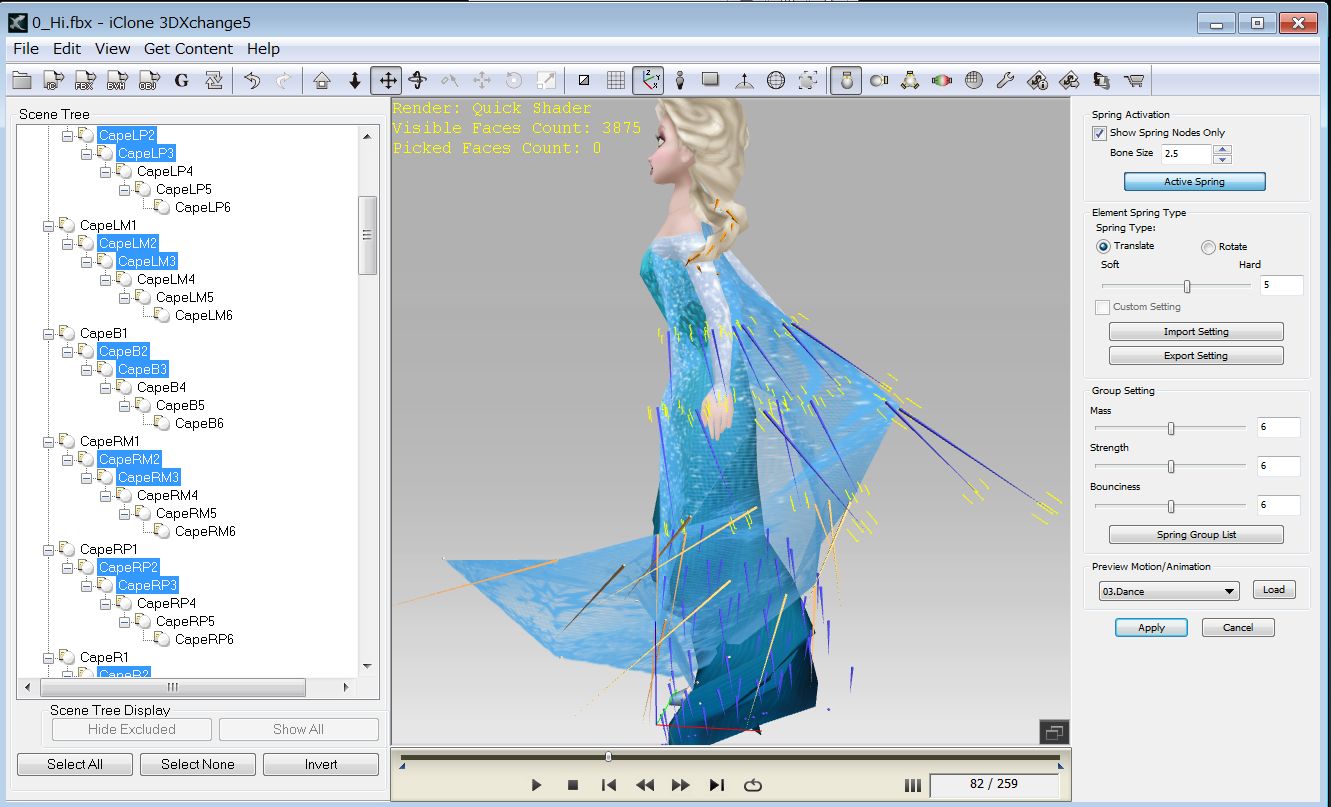
'Frozen' is a world famous Disney musical fantasy movie made by 3DCG Animation in which Elsa can produce ice and snow at will. Not only meny user videos and vocal sounds but MMD Elsa models and its motion have been introduced in the internet world. I was moved to see her in my iClone5. This is a personal report with my best of converting process how the model and motion can be brought into iClone5. Skirt bone structure is modified, and only Spring Effects are applied to the Skirt bones. Physics are not used yet. |
Thank you for all these creators, Companies Videos and Downloadings. |
Data and Tools |
DL Link |
Name of DL Data |
| Elsa by 0-0-Alice-0-0 |
MMD Elsa DL by 0-0-Alice-0-0 |
mmd_elsa_dl_by_0_0_alice_0_0-d796q23.zip |
| Motion by mahlazer |
MMD Frozen (MMD Frozen.rar) | frozen motion data.vmd |
| Decompression | Lhaplus Version 1.59 | |
| PMD Editor | PMDEditor_0139 | |
| Collada Exporter | PMDEditor (ColladaExport.rar) | ColladaExportPlugin.dll |
| Live Animation | beta4.63 | LiveAnimation_108.zip |
| FBX Converter | Autodesk FBX | FBX 2013.3 Converter X64 |
| 3DXchange5 | iClone 3DXchange5 Pipeline |
iClone 3DXchange v5.51 Pipeline |
| iClone5 | iClone 5 PRO | v5.51 PRO(64 Bit) |
Referenced Video |
Creator Name |
Notes |
mahlazer |
The video was made for a pure non profitable and educational purposes only. | |
Amane hatsura |
||
Shooter Fock |
||
Disney UK |
||
YourPianoCover |
- Idina Menzel - Piano Cover Video |
1
1-1
PMD files and Texture files must be located in the same folder.
 |
1-2
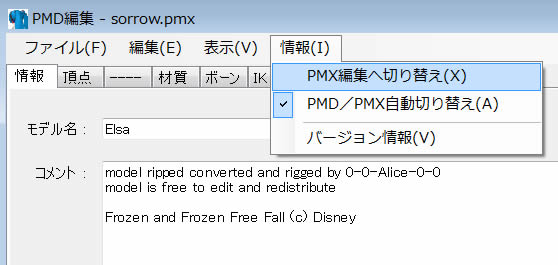
Editing the Model is permitted by 0-0-Alice-0-0. 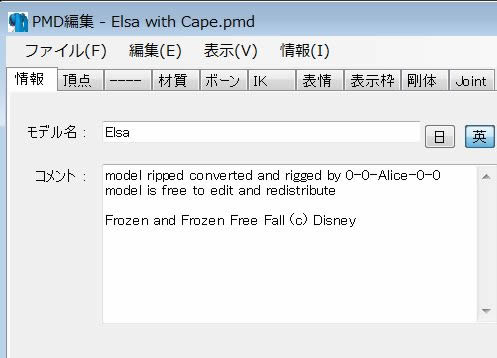 |
 |
1-3
1-4
1-5
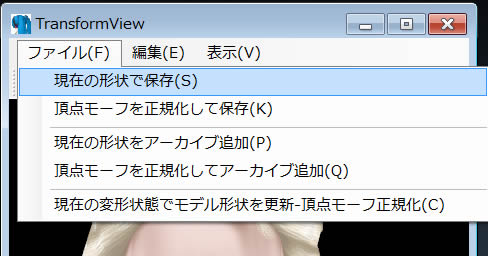
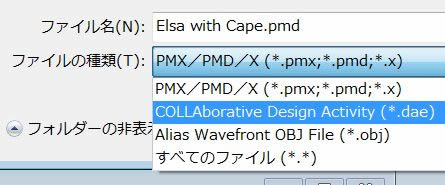
| At TransformView, Go to File/Save Current shape and save the default Elsa and following new Morphs as PMX format in the same folder. |
 |
1-6
1-7
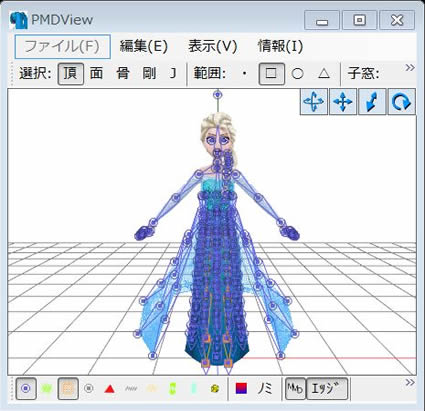
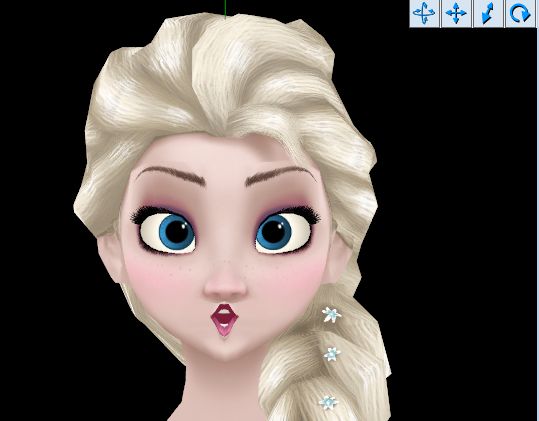
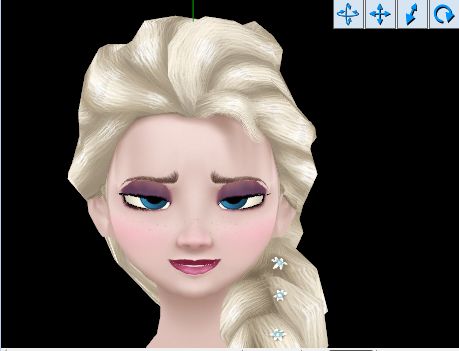
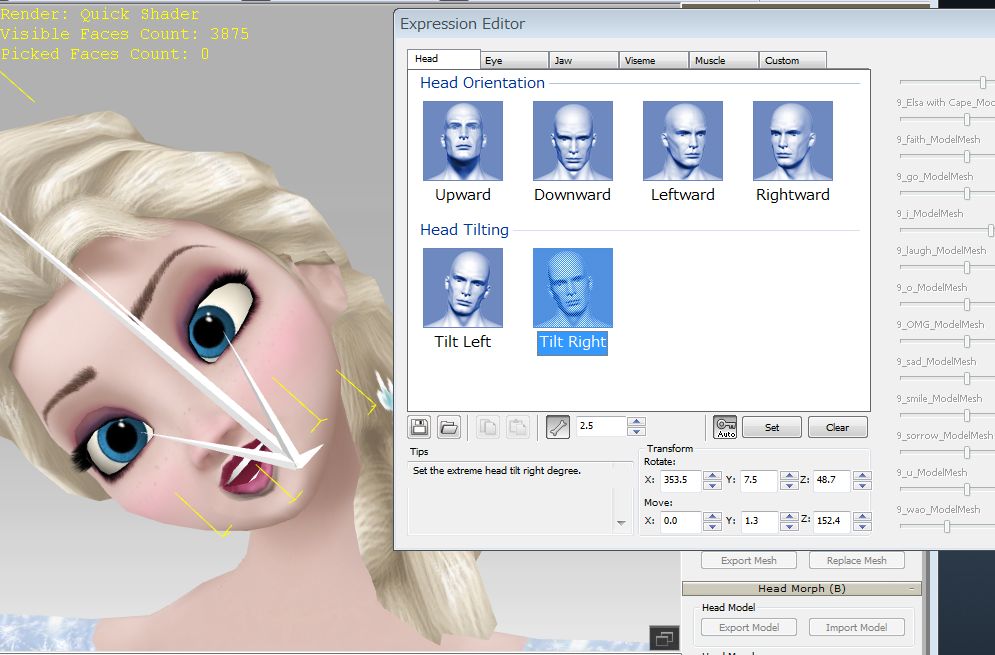
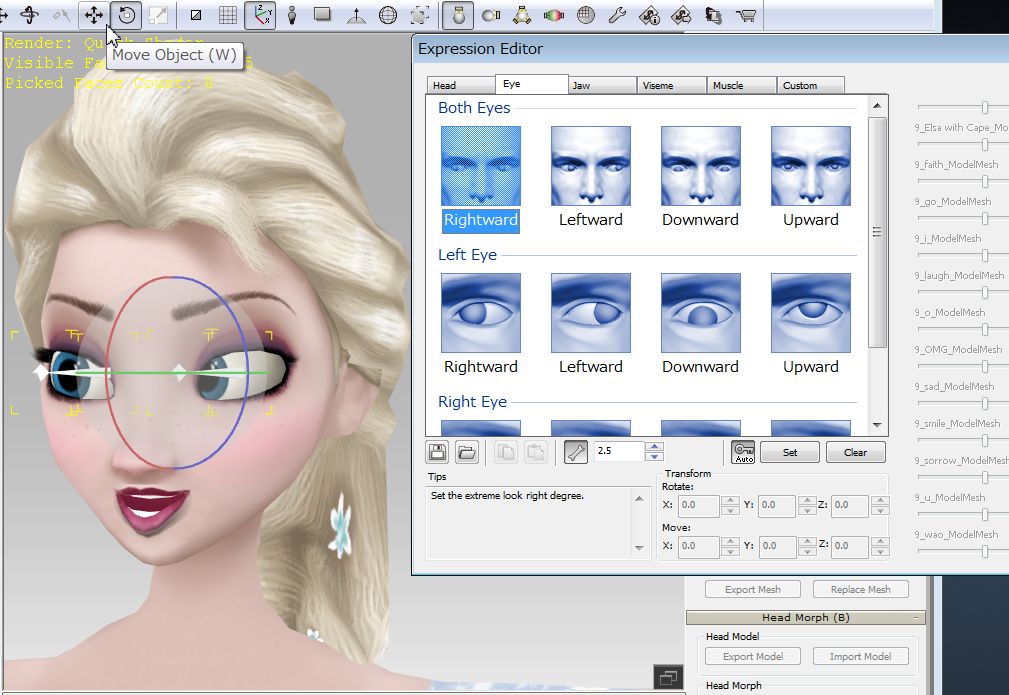
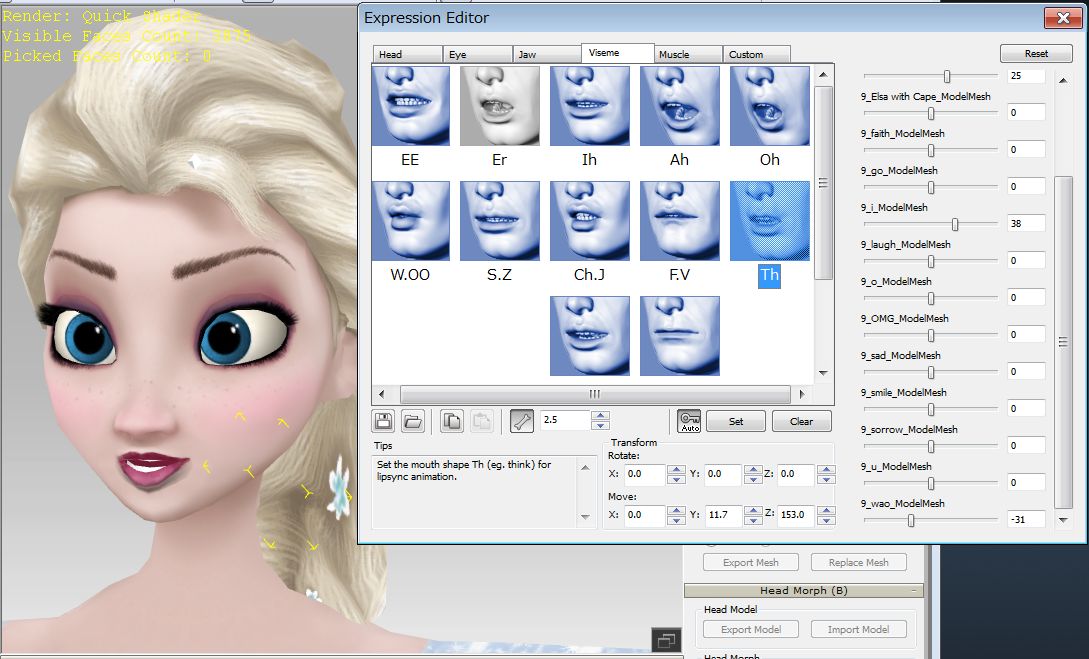
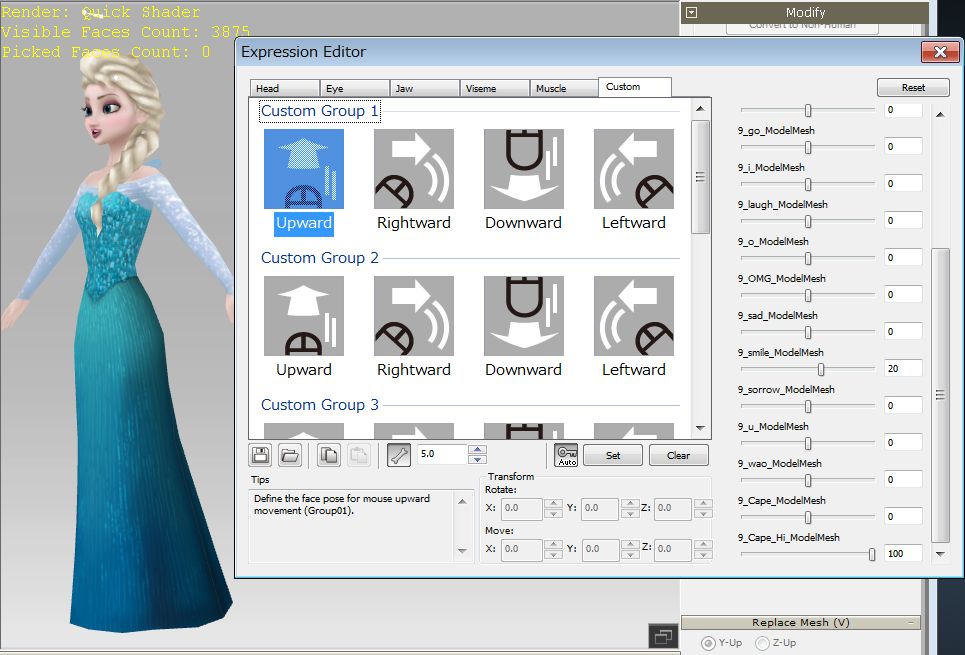
Adjust multiple morphs to attain target Facial Expressions 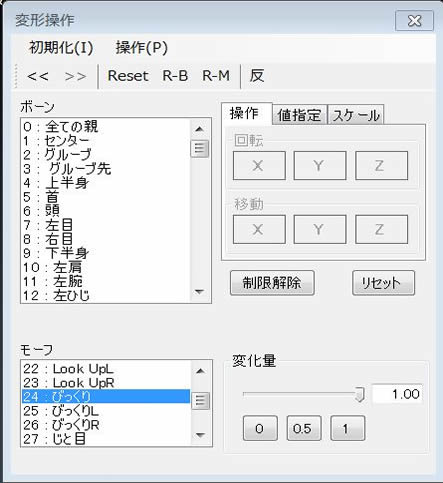 |
Push F1 to open Preview Setting Panel and unselect Bone. 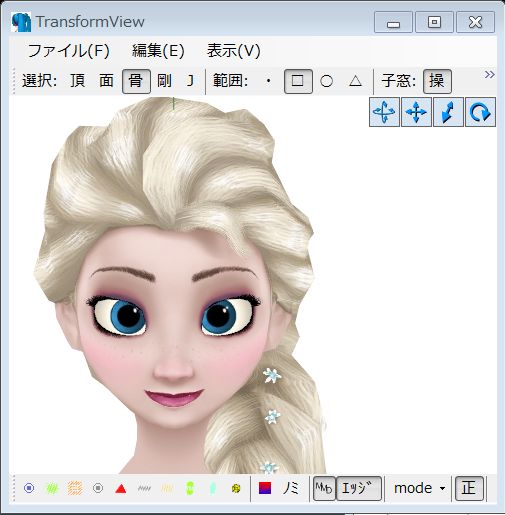 |
1-8
1-9
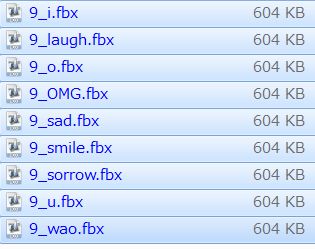
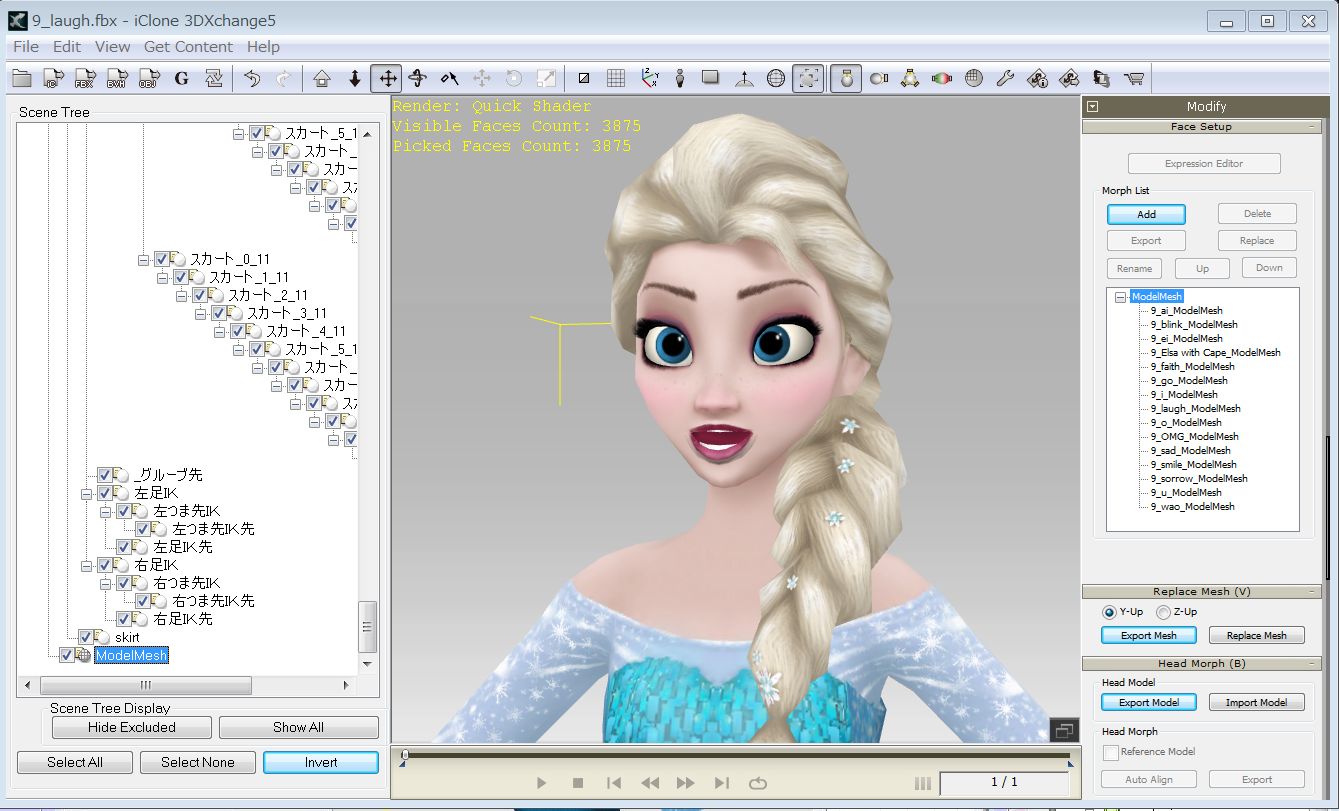
MMD Elsa Morph List |
|
PMX |
PMX | PMX | PMX | PMX | PMX | ||||||||||||
0 |
まばたき |
blink |
10 |
瞳小2L |
20 |
Look DownR |
30 |
あ |
ai |
40 |
上L |
50 |
困るR |
||||
1 |
ウインク |
11 |
瞳小2R |
21 |
Look Up |
31 |
え |
ei |
41 |
上R |
51 |
にこり |
smile |
||||
2 |
ウインク2 |
12 |
Look Left |
22 |
Look UpL |
32 |
い |
i |
42 |
下 |
52 |
にこりL |
|||||
3 |
笑い |
laugh |
13 |
Look LeftL |
23 |
Look UpR |
33 |
お |
o |
43 |
下L |
53 |
にこりR |
||||
4 |
ウインク2右 |
14 |
Look LeftR |
24 |
びっくり |
OMG |
34 |
う |
u |
44 |
下R |
54 |
真面目 |
faith |
|||
5 |
ウインク右 |
15 |
Look Right |
25 |
びっくりL |
35 |
ω□ |
wao |
45 |
怒り |
55 |
真面目L |
|||||
6 |
瞳小 |
16 |
Look RightL |
26 |
びっくりR |
36 |
にやり |
Hi |
46 |
怒りL |
56 |
まじめR |
|||||
7 |
瞳小L |
17 |
Look RightR |
27 |
じと目 |
37 |
にやり2 |
47 |
怒りR |
57 |
Cape |
Cape |
|||||
8 |
瞳小R |
18 |
Look Down |
28 |
じと目L |
38 |
へ |
48 |
困る |
sad |
|||||||
9 |
瞳小2 |
19 |
Look DownL |
29 |
じと目R |
39 |
上 |
49 |
困るL |
blink |
laugh |
u |
sad |
faith |
 |
 |
 |
 |
 |
2
2-1
 |
 |
2-2
Open Elsa first and save her as COLLADA DAE format.
2-3
 |
 |
2-4
2-5
3
3-1
3-2
Drag Face texture file to her face parts 5 times; eye, lip, mouth,...

3-3
3-4
3-5
 |
|
 |
3-6
3-6
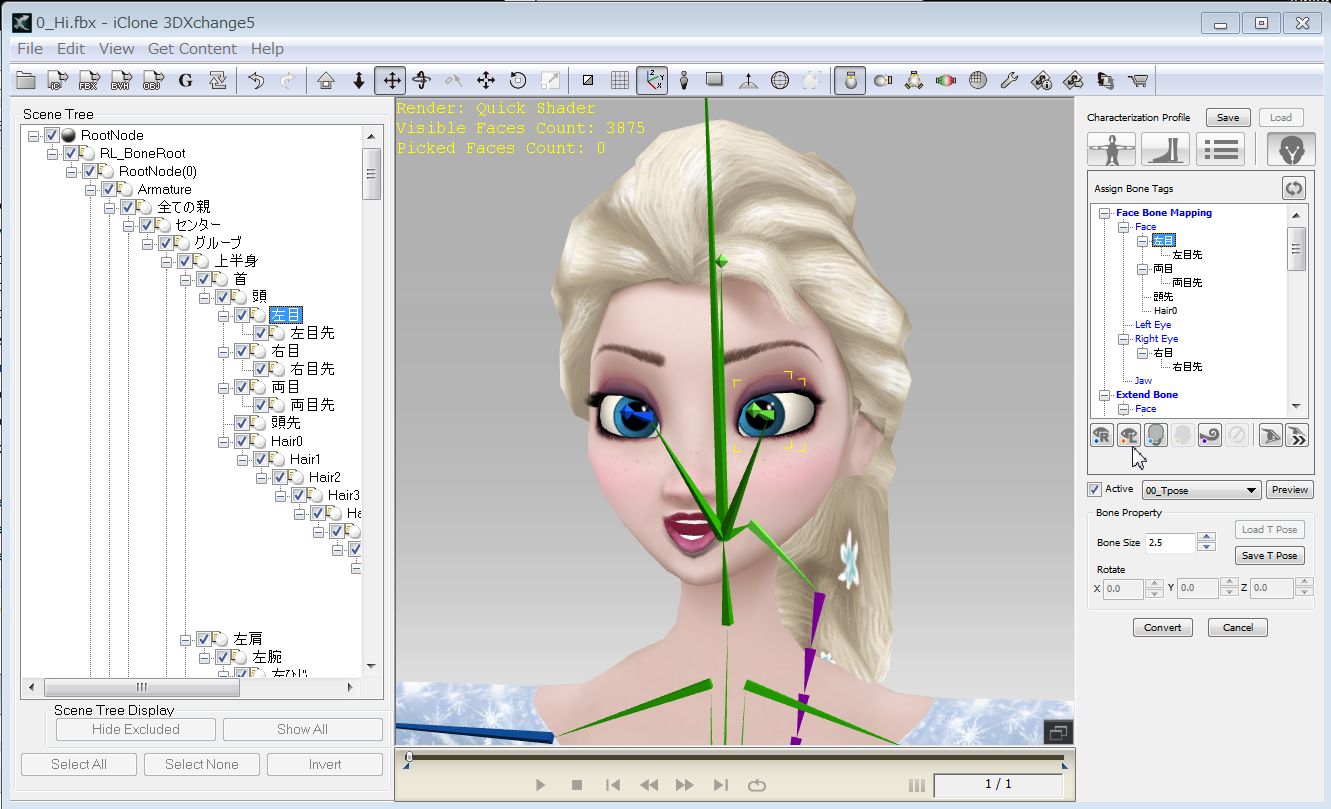
Adding all Morphs must be done before the Characterization of the Model (Elsa).
3-7
4
4-1
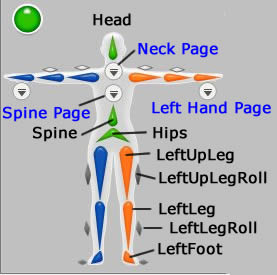
3DXchange Mapping Pane |
Elsa Mapping List (Basic Part、Left Only) |
|||||||||||||||||||||||||||||||||||
|
|
|||||||||||||||||||||||||||||||||||
4-2
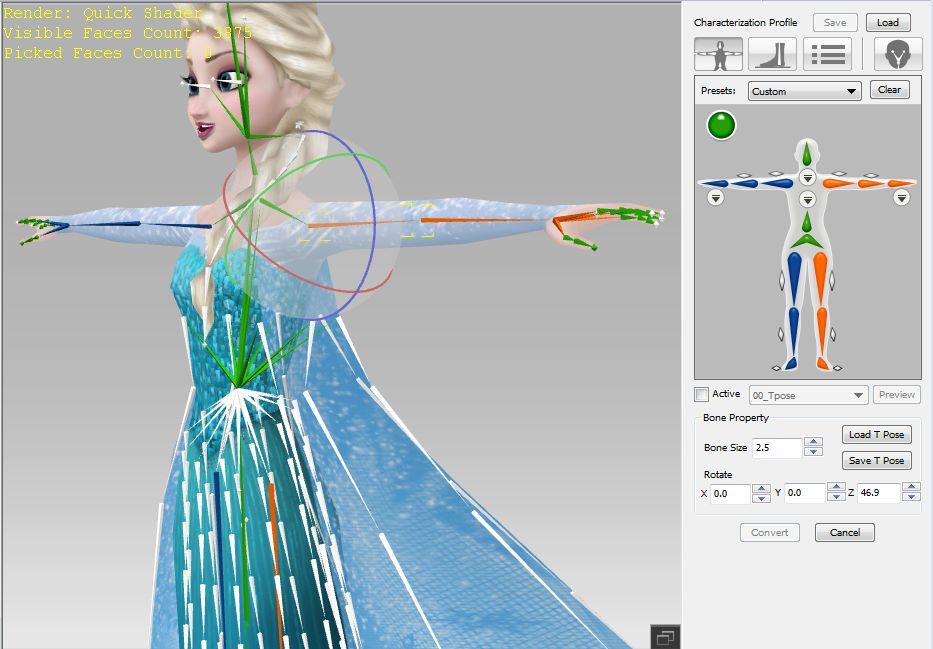
4-3
5
5-1
5-5
5-6
6
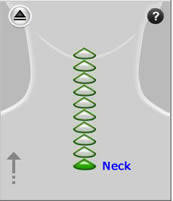
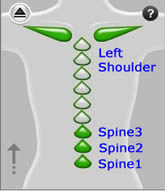
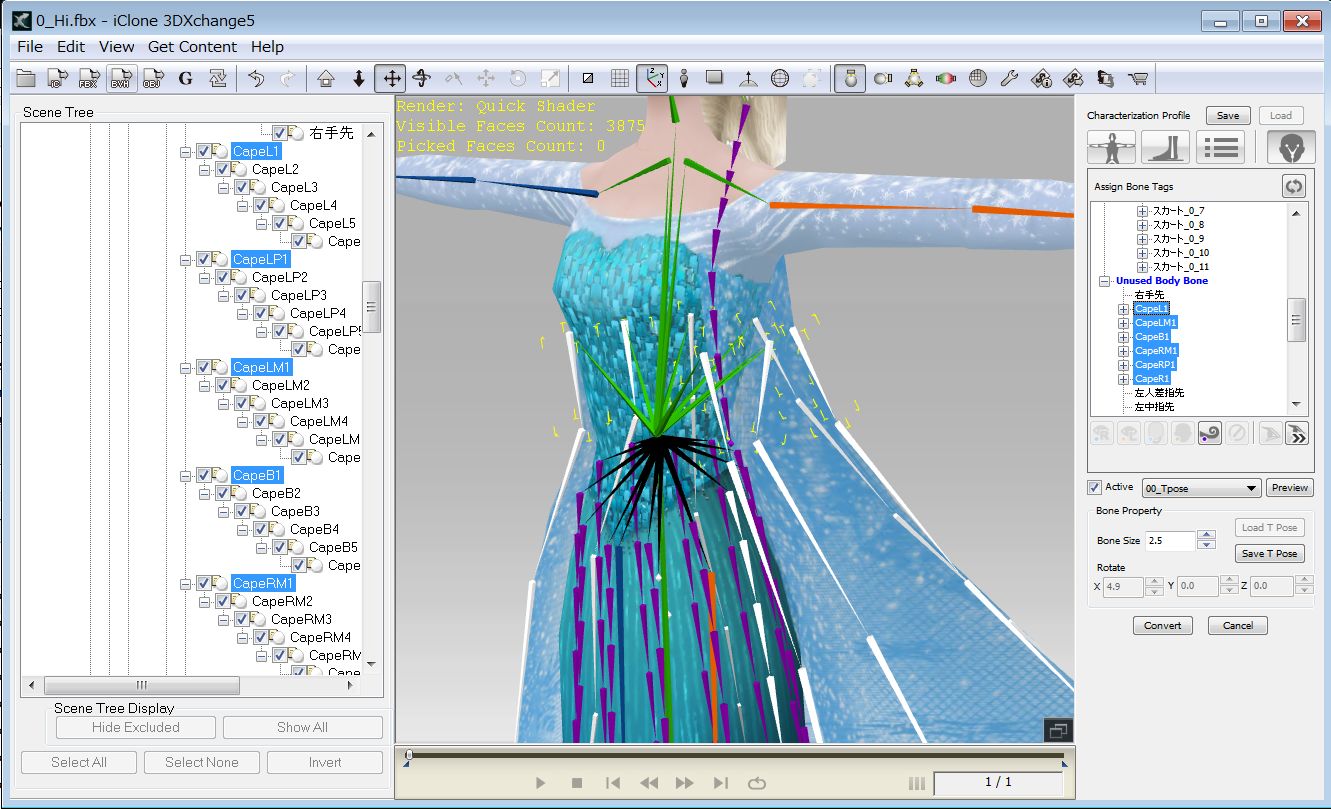
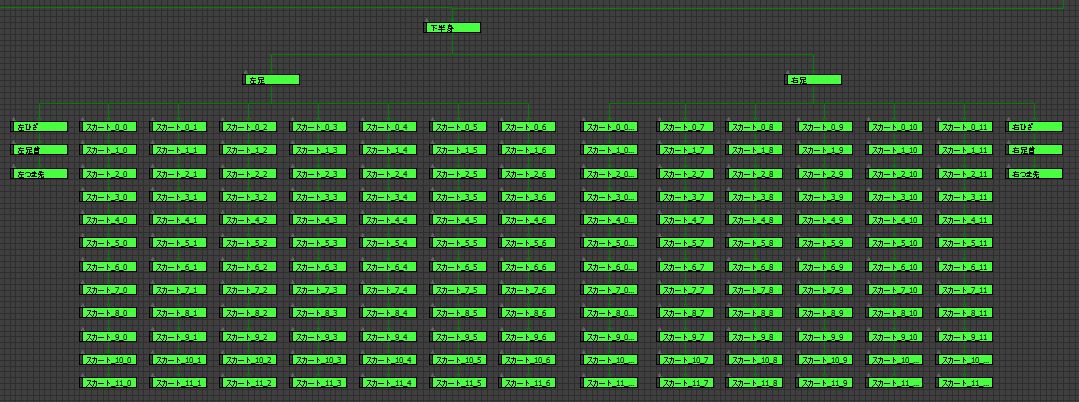
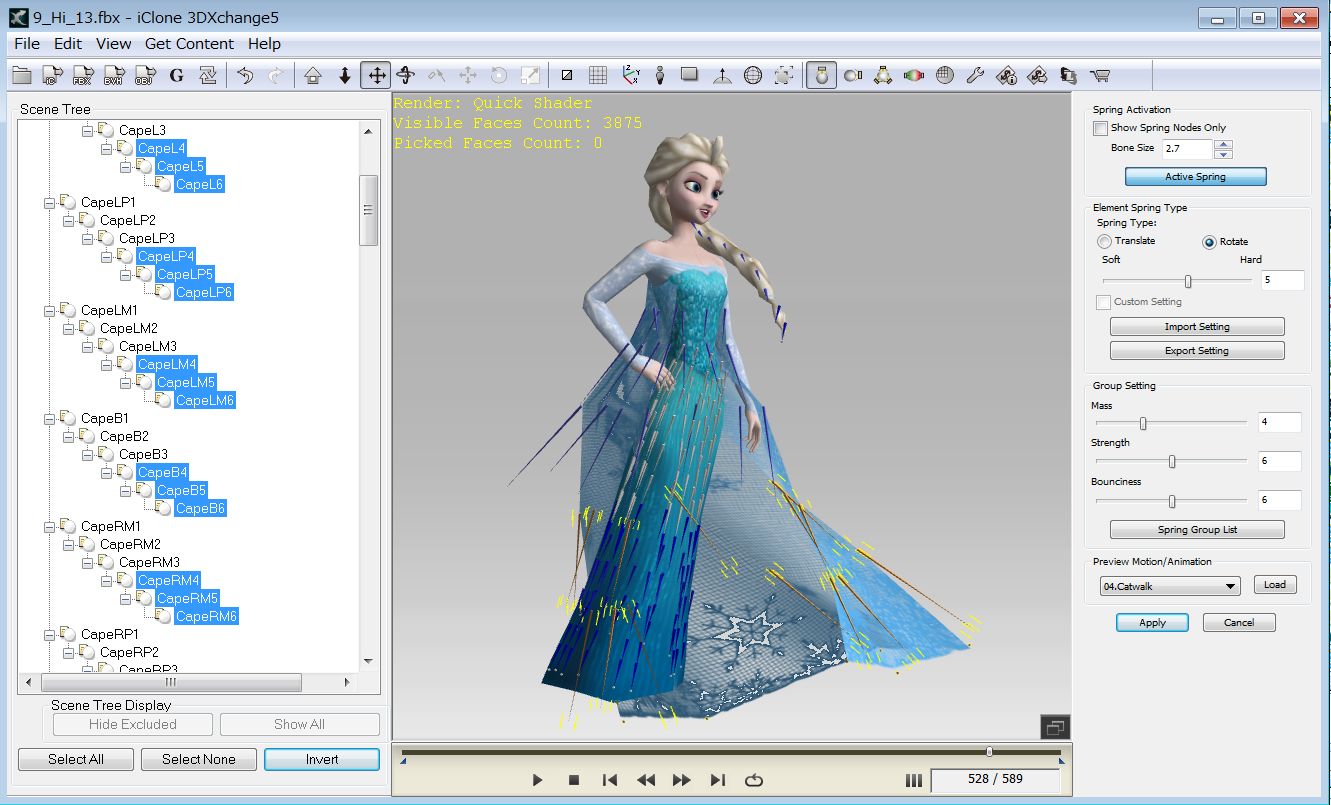
As MMD Elsa skirt bones are conenected to one group bone, unexpected poke through of legs happens. |
 |
6-1
6-2
6-3
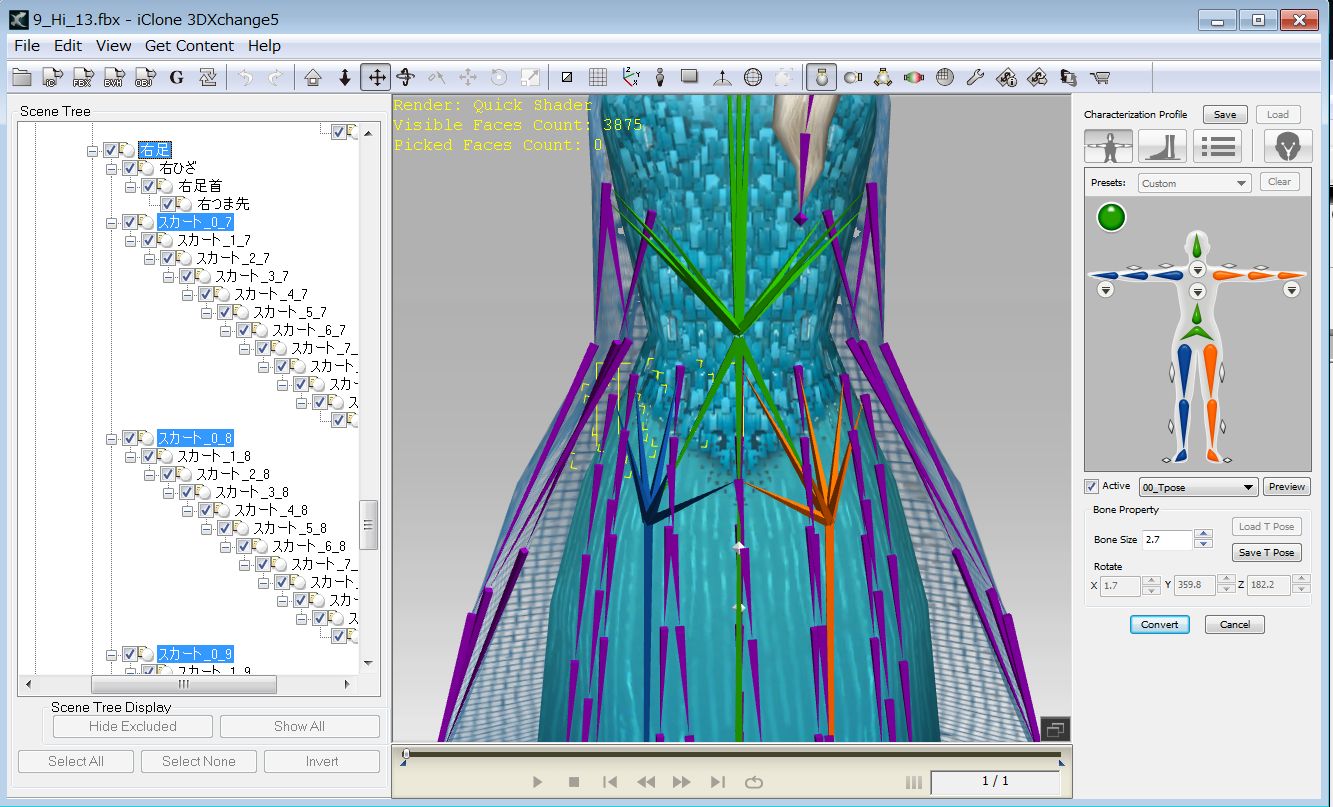
Select all first skirt bones and click 'Map to Extend Bone' button.
Map to the Cape Bones.
6-6
7
7-1
7-2
Original schematic view in 3dsMax.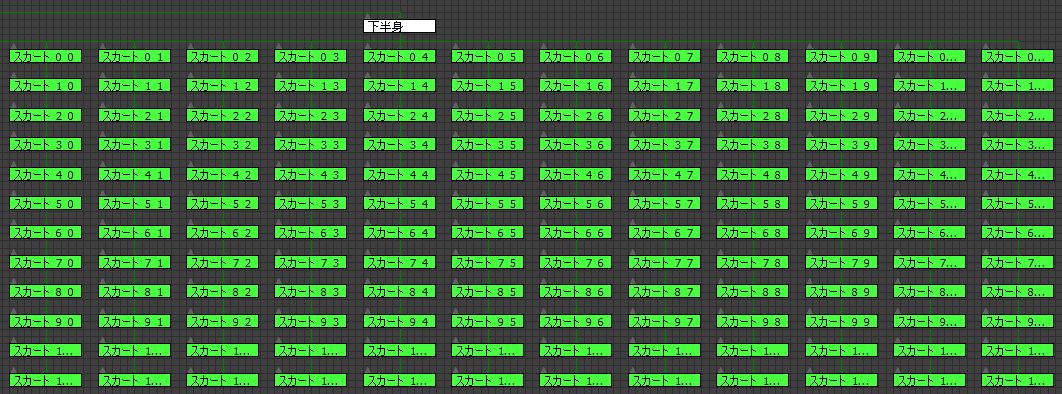
7-3
Modified Structure schemaic view
7-4
7-5
7-6
7-7
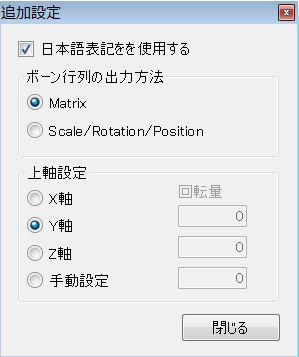
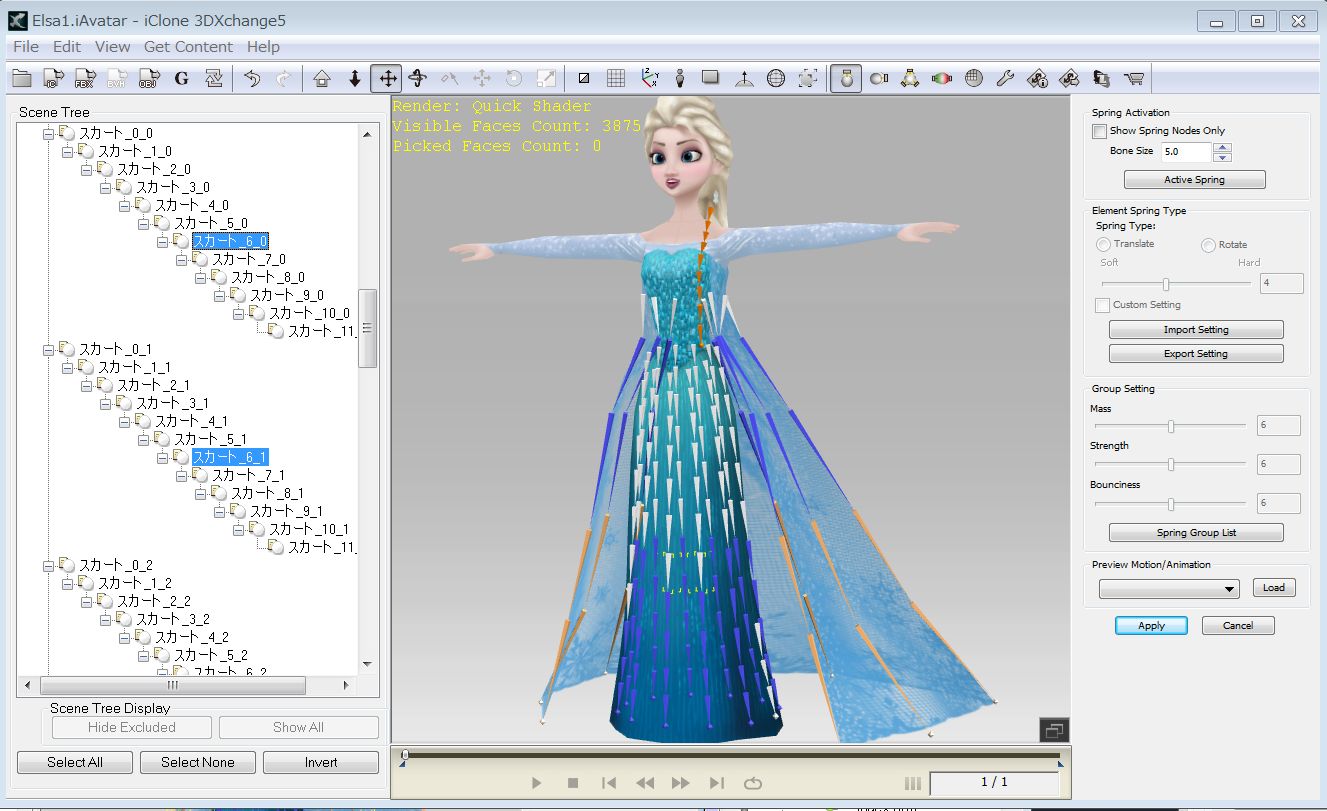
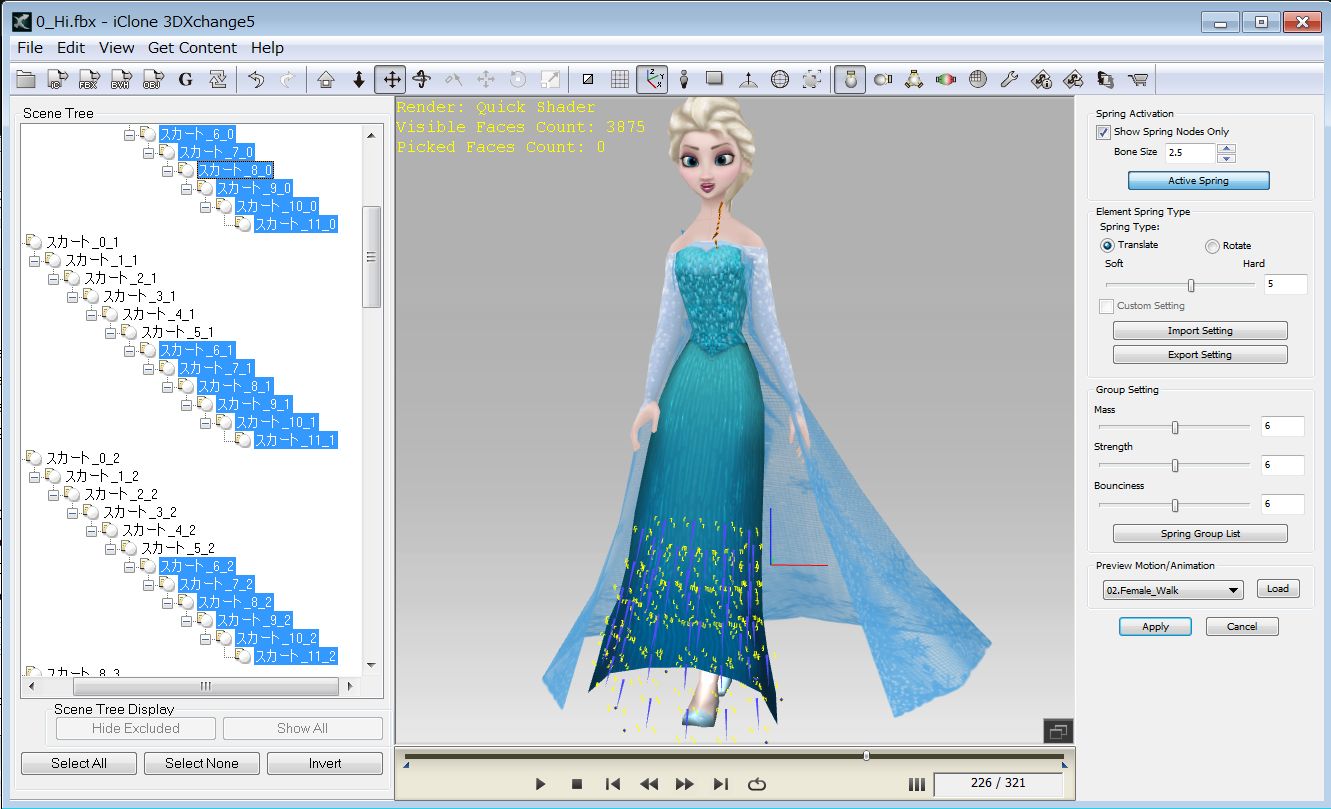
Set Spring Type and Softness and preview the effect.
8
8-1
8-2
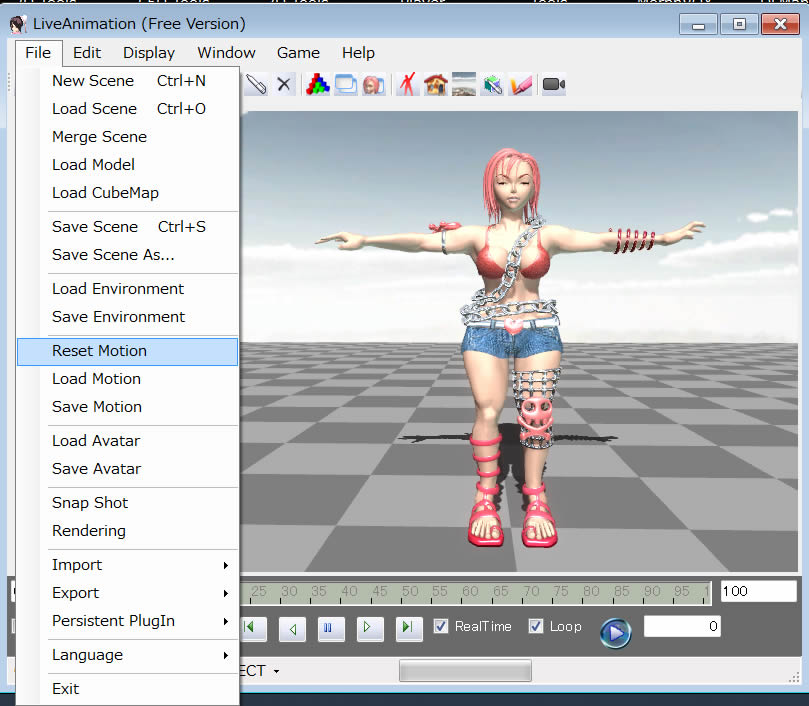
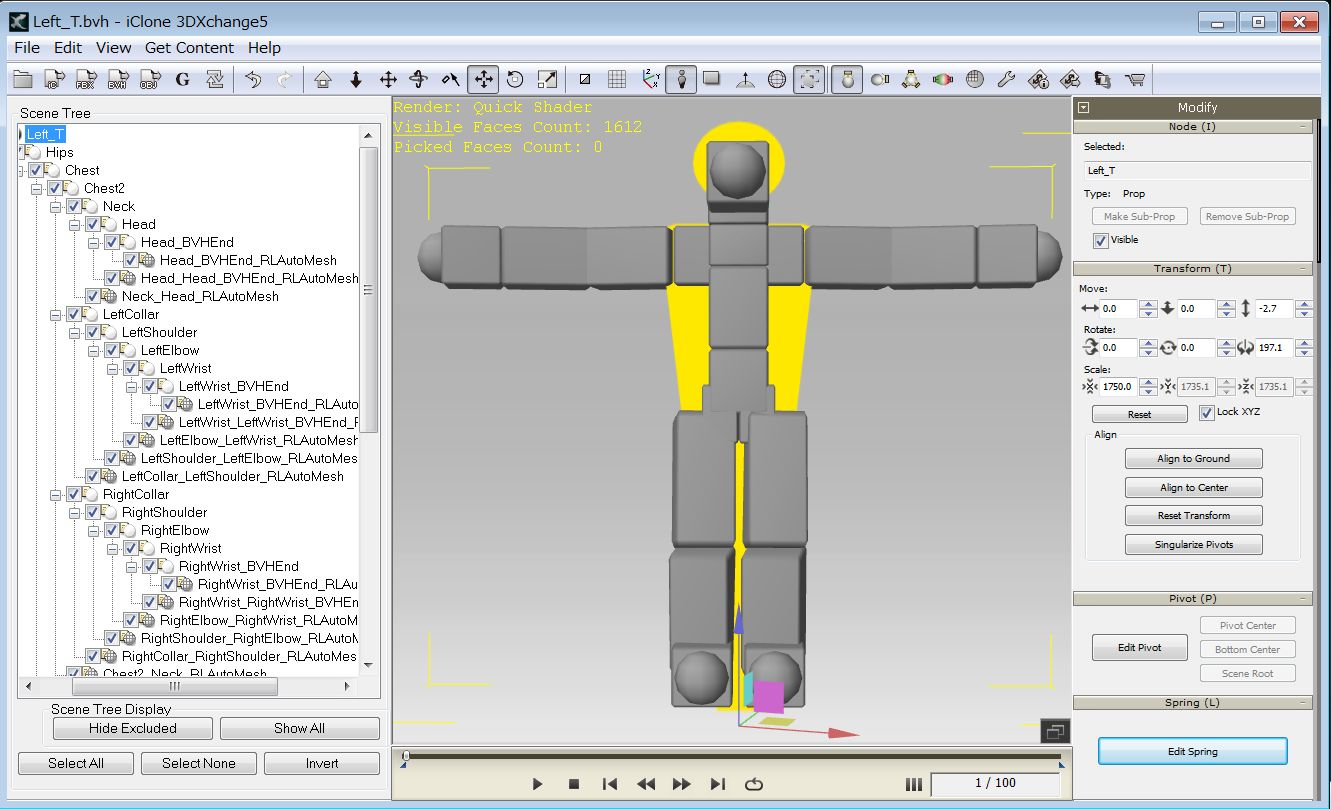
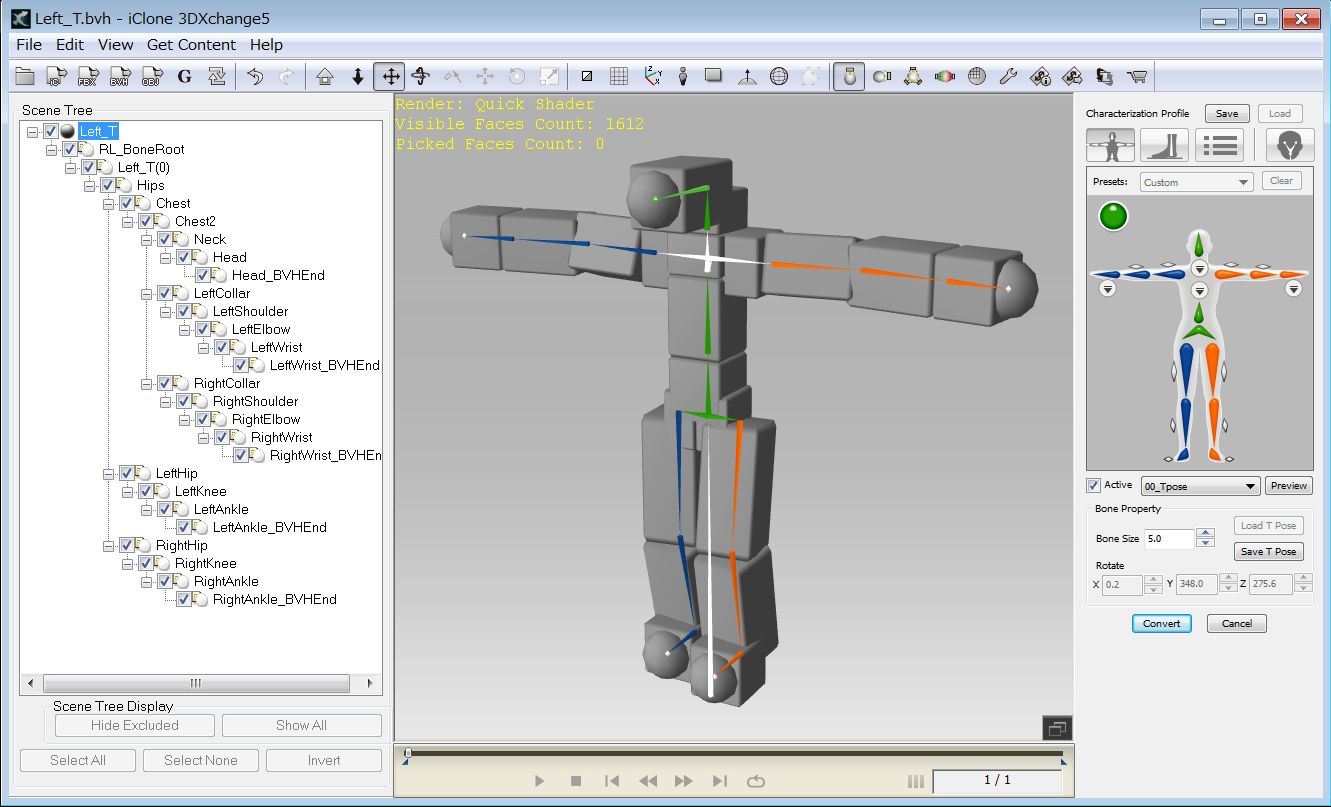
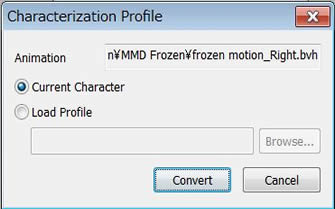
| 1) Go to File and select "Reset Motion to T pose". 2) Go to File Export/BVH, Select Left handed coordinate system and export T-pose in BVH format (Left_T.bvh). 3) Import the "frozen motion data.vmd" 4)Export the motion in BVH format with Right handed coordinate system. |
 |
8-3
8-4
8-5
8-6
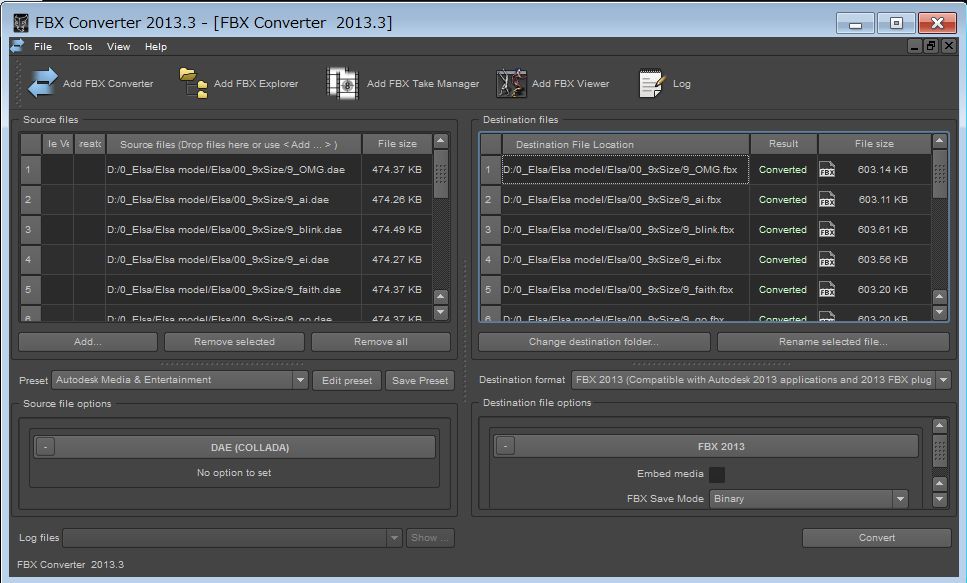
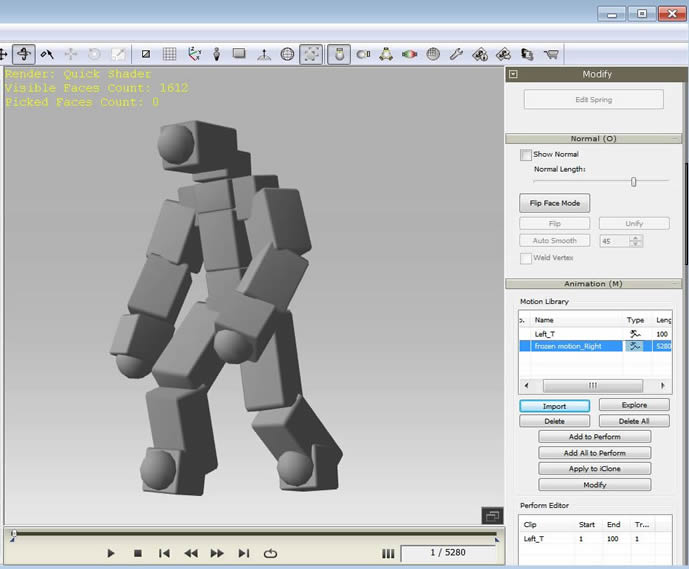
Click 'Import' button, select the frozen motion.bvh and click 'Convert' button.
 |
 |
8-7
8-8
8-9
9
9-1
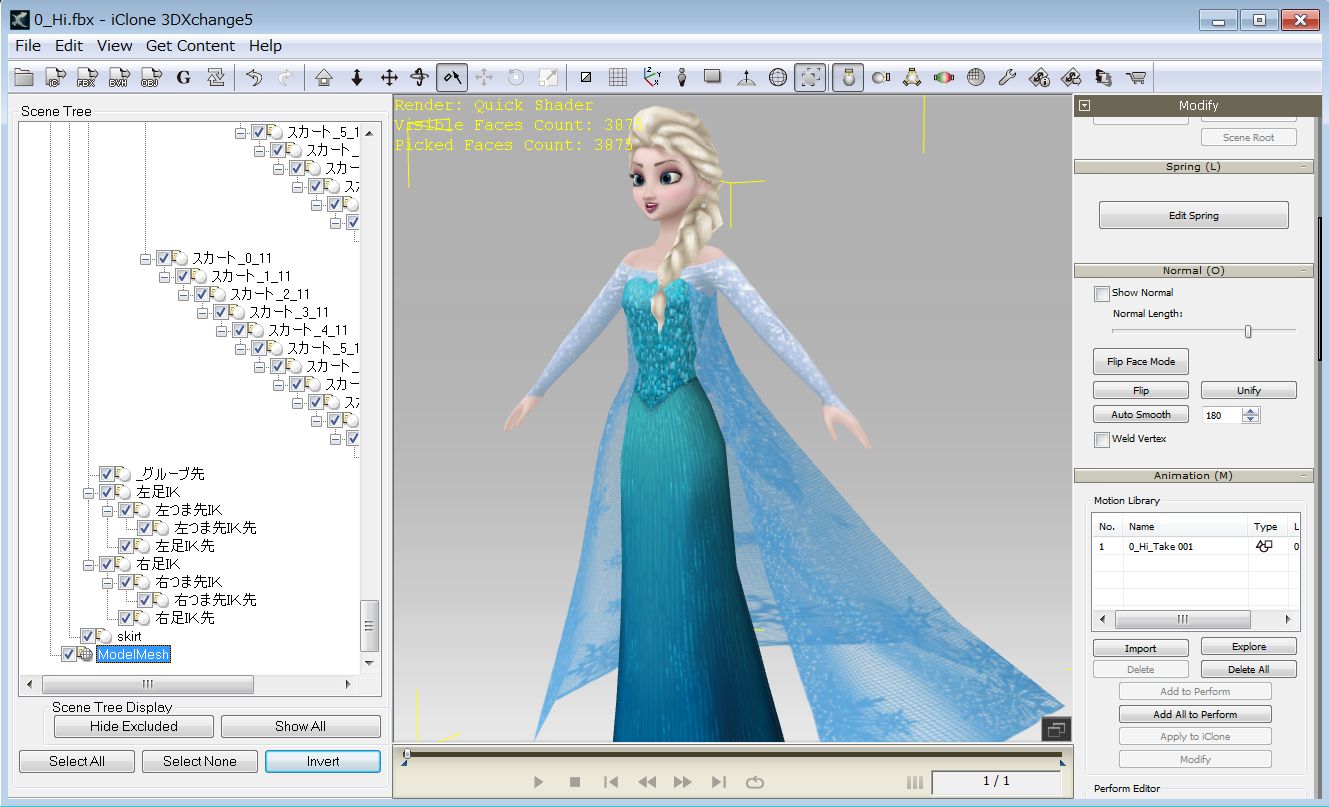
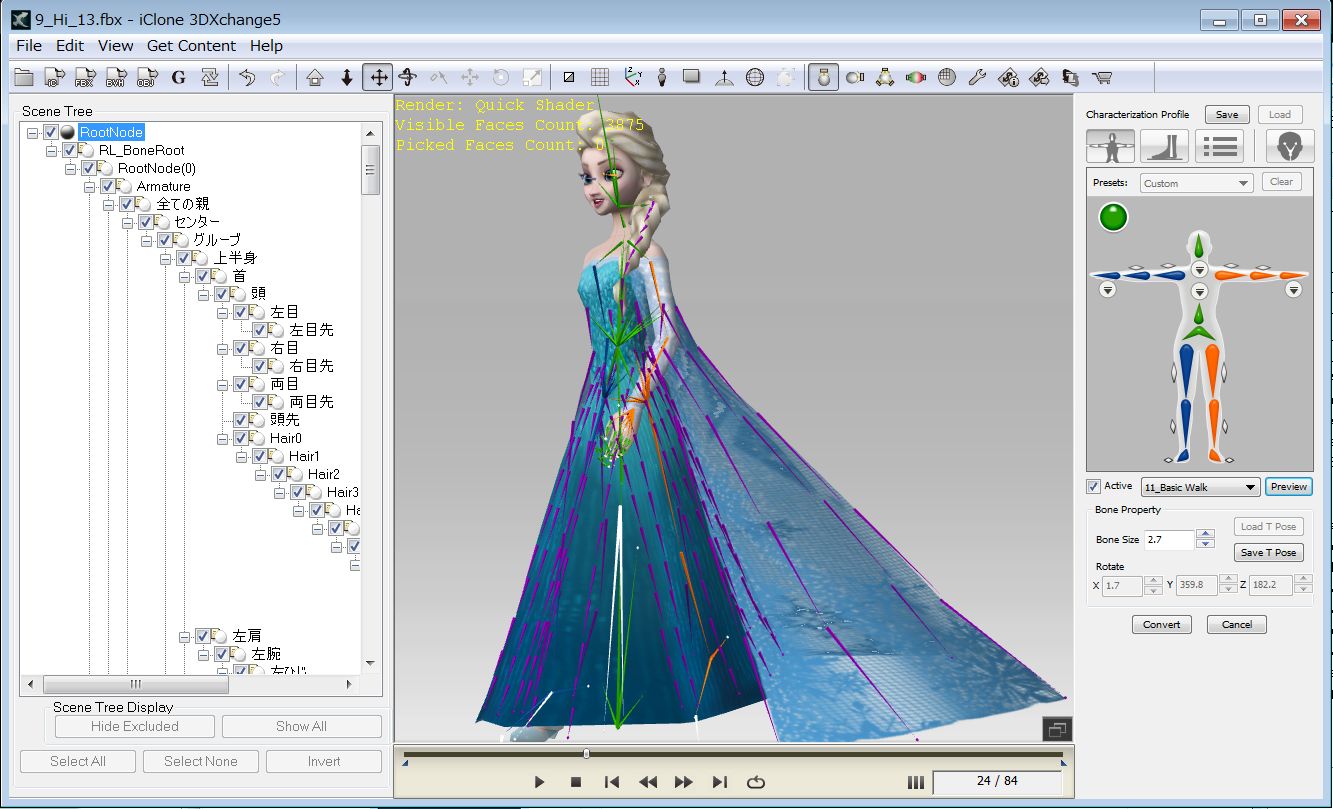
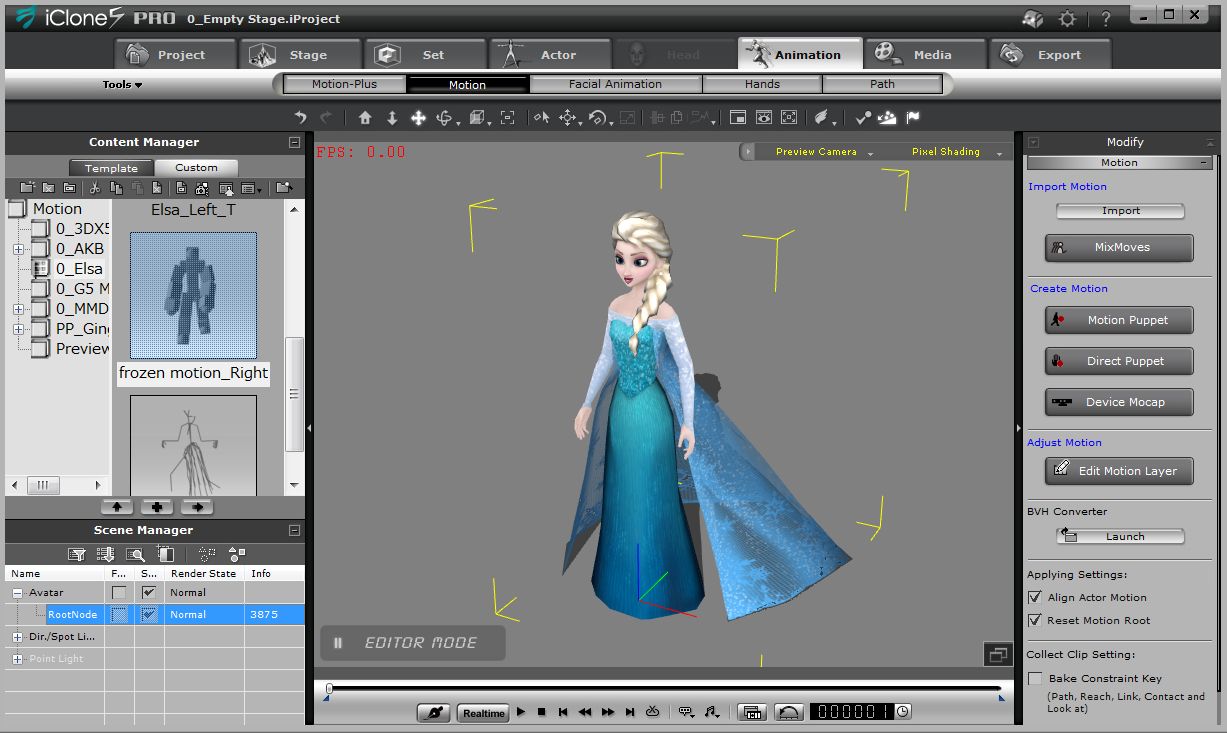
When Pushed 'Apply' button in the 3DX5, MMD Elsa should be up in the 3DView.
9-3
9-4
9-5
9-6
Open TimeLine, editing of basic bones are possible with Edit Motion Layer.

3DXchange5 Pipeline test series 16: MMD Disney Elsa Let it Go in iClone5
2014. 5.29 Hirospot (Personal Site)
2014. 5.29 Hirospot (Personal Site)